Portlets and gadgets are organized in different categories. Each category contains one or several portlets or gadgets. You can also mix portlets and gadgets into one category. By default all gadgets are placed in the Gadgets category.
Display Gadgets
You can change the number of columns available in the Dashboard Portlet.
-
**
Click on Site Editor : Edit Page -
**
Click on Edit Portlet button (which is displayed a pencil icon when you mouse-over the portlet in edit mode). It will show a dialog to change the number of columns to display gadgets.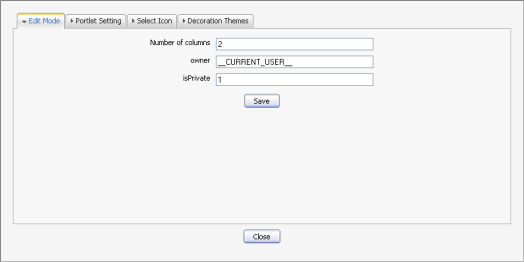
-
**
Change the number of columns and click the Save button to accept the changes.
Add a new Category
You easily add a new category by following these guides:
-
**
In the Group menu, select Administration -> Application Registry. -
**
Click the Add Category button on the action bar: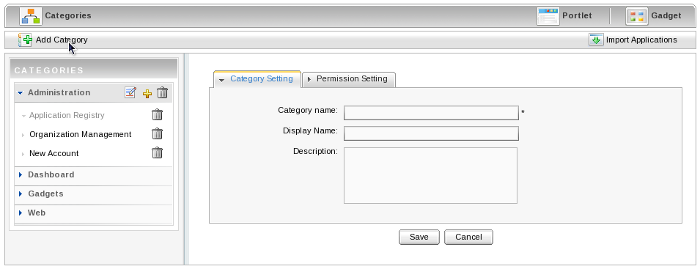
The Category Setting tab: includes common information about a category.
-
Category name
The name of the category. This field is required and its length must be between 3 and 30 characters. Only alpha, digit, dash and underscore characters are allowed.
-
Display name
The display name of the category and its length must be between 3 and 30 characters.
-
Description
A brief description of the category. Any length from 0 to 255 characters is allowed.
The Permission Setting tab provides access to the Permission manager.
The permission criteria are used whenever a user creates or modifies a page. In that case the user can only see and use portlets in those categories on which he or she has access to (as defined by groups and memberships).

Edit a Category
-
**
Click the Edit icon located next to the title bar. -
**
Update the category information. -
**
Click the Save button to apply changes.
Delete a Category
-
**
Click the Trash can icon located next to the title bar. -
**
Accept the deletion by clicking OK
Add Portlets/Gadgets to a Category
-
**
Click the "Plus" icon located next to the category name to which you want to add portlets/gadgets.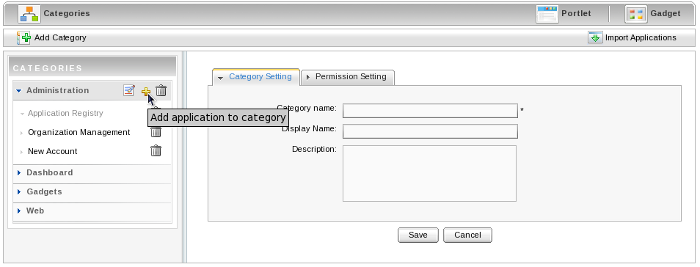
-
Display name
The display name of a portlet/gadget.
-
Application Type
Either Portlet or Gadget.
-
**
Enter the display name and select a type -
**
Select a portlet/gadget by checking the radio button. -
**
Click the Save button to add the selected portlet/gadget to the category.
Set Access Permission on Portlets
-
**
In the Group menu, select Administration and then Application Registry.
-
**
Select a category in the Category pane that includes the portlet you want to set permissions on. All portlets of that category will be listed underneath. -
**
To set permission for a portlet:-
Click the Add Permission button to add access permissions to more groups.
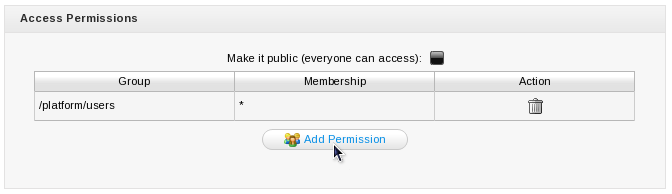
-
Or check Make it public to allow everyone to access.
Whenever the user creates or modifies a page, he or she can only see and use gadgets/portlets that fulfill two conditions: the portlet is in a category which the user has access permission too and the user has access permission on the portlet
-
View/Edit portlet/gadget information
In the Group menu, select Administration then Application Registry.

-
Left pane
All portlets and gadgets grouped by categories
-
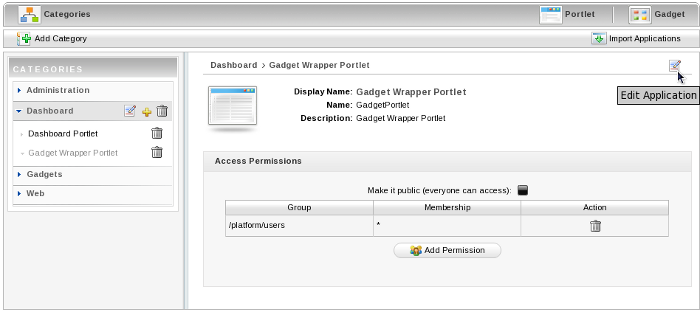
Right pane
shows detail information about a portlet: Name, Display name, Description and Portlet preferences.
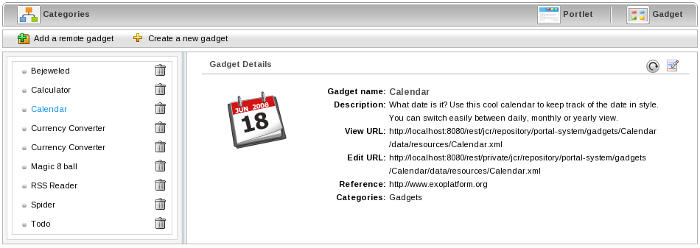
To see the details of any portlet select it from the list on the left.
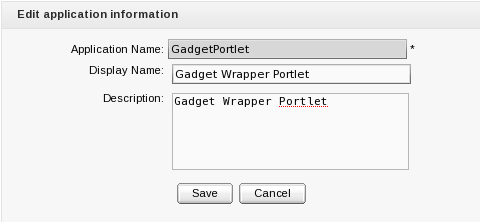
To edit a portlet, click the edit button to the right of the portlet's name:
Add a Gadget
In the Group menu, select Administration then Application Registry. Click on the Gadget icon.
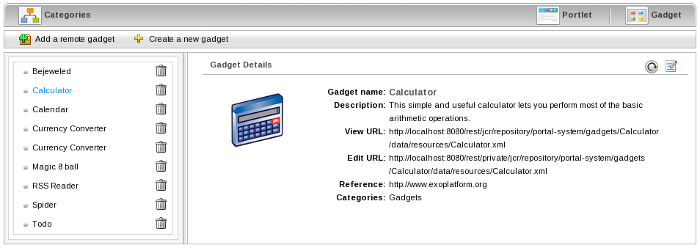
You may add a remote gadget using its URL or create a brand-new one:
Add a remote Gadget
-
**
Click on Add a remote gadget: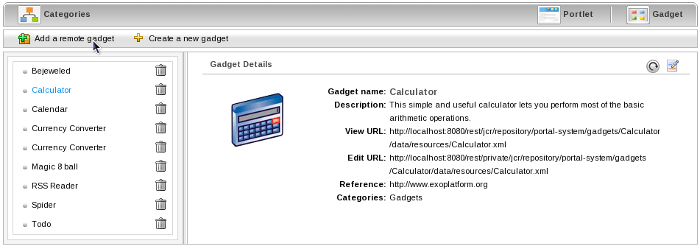
-
**
Enter the url of the remote gadget in the URL field.
-
**
Click Add. The new remote gadget will be appear in gadget list on left pane of the Dashboard portlet.Create a new Gadget -
**
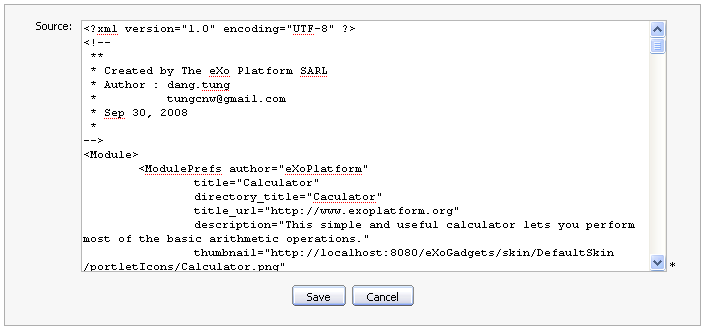
Click on Create a new gadget: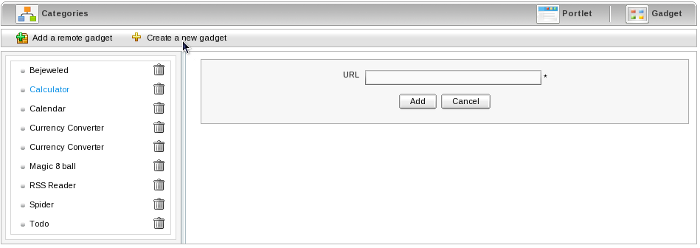
-
**
Populate the Source field with the xml code of the new gadget.
You can edit or refresh a gadget using the icons in the top right of the Gadget Details pane.
You can delete a local gadget using the trashcan icon to the right of the appropriate gadget in the gadget list.
Add a new Gadget to the Dashboard Portlet
See sect-User_Guide-Dashboard_Portlet-Add_Gadgets for instructions on how to add new gadgets to the dashboard.
Manage Gadgets
Edit a Gadget
Click the Edit Gadget icon located in the header of the Gadget Details page to display the following window: